We have been jumping around the several blog platforms on the internet for a bit. We hope that this (www.panamagic.wordpress.com) and www.hotelheliconiapanama.com/blog will be the final destination of our blogs. If you are new here, you can read about our prehistory on (www.panamagic.blogspot.com. After a bit of a pause we now hope to regularly blog here.
Those who have been following us, know by now that our little projects tend to grow into rather complicated undertakings that take at least three times as long as we thought. Rest assured that this is still the case. And the last one has been one of the reasons for our relative silence on the internet.
Over a year ago we decided that the ample verandas around our B&B were not quite ample enough. Some of our guests enjoyed our breakfasts and dinners so much that they tended to linger at the table. Furthermore, we became quite popular, so more and more people tended to linger. The veranda just was not wide enough to accommodate so many lingering people comfortably. We designed a new veranda at the side of the house, to add about 37 square meters to our veranda. We ordered the wood (Espave or Wild Cashew, Anacardium excelsum), had concrete pillars made and bought steel for the supporting structure and for the roof as well as roofing materials. Putting in the pillars and welding the supporting structure and the roof went pretty quick. And in April 2013 we put on the first planks.
By April we were also at the end of a very dry season and we had had a shortage of water. Since the space below the future floor was large we thought we might better use it and build a large water tank underneath the floor. We figured that doubling our water storage capacity should go a long way in preventing water shortages in the future. The result was that the veranda project was put on hold to start the water storage building.

Some planks in place and the hole for the water tank is ready
Building a twenty thousand litre storage tank proved to be a fairly large project. We needed about 45 bags of cement (that is some 2000 kg), a few cubic metres of sand and gravel, 300 blocks and about 150 metres of iron reinforcement bars. The first step was to dig a hole about 4.5 m long, 3 m. wide and about 2 m deep. The next step was to pour the slab of the floor. But the guy we wanted for that job, was busy somewhere else. We were quite anxious to get the right man for this job, because you have to be absolutely certain that the tank is water proof. Demolishing and rebuilding a leaking a water tank was about the very last thing we wanted to face.
While waiting for the guy to poor the floor of the tank, we realised that we were also seriously lacking storage space and that there was still plenty of room under the future veranda to build a storage room. We have all sorts of things lying about that need storing: water hoses, pumps, electric cords for pumps, empty beer crates, wine bottles (full and empty), boxes with masks and fins we take to Coiba and a gazillion other things that we keep because maybe we might need them in the distant future. So, extra storage space was also created underneath the future veranda.

Large storage room under construction
Building the storage room should be a much simpler and smaller job, so that could be done by a less experienced mason, who was looking for a job. We started to do some more digging and build some walls to create a storage room. It was indeed a much simpler job, but we are not so sure that it was smaller. The job took long enough anyway. Finally, in September, the storage rooms were more or less finished and we managed to get the right man and all the materials we needed at the same time and at the same place and build the water storage tank. After that, we could finally continue with the veranda.
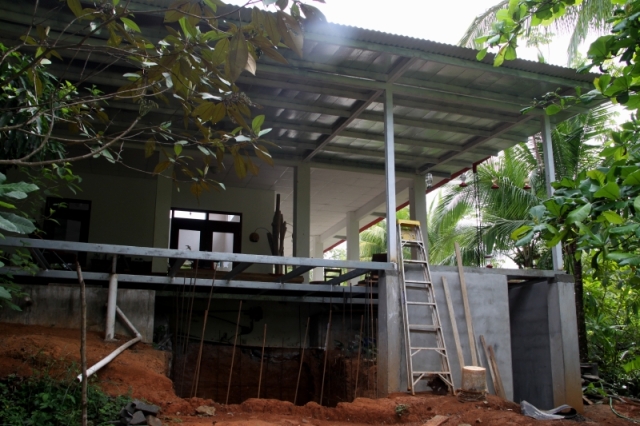
Side view of the work in progress

Water tank near completion
That was still a large task. The wood came rather rough and almost straight and not very warped, while the steel beams of the support structure were welded at nearly straight angles. In other words: every plank had to be individually measured, cut and sanded before putting it in place. And Loes had this great idea that we should put in the screws from the below rather than from the top so you would not see them. This proved possible, provided you are able to bend your back and legs in about 25 odd angles at the same time and have your in-laws standing on the planks to force those straight and flush with the steel beams.
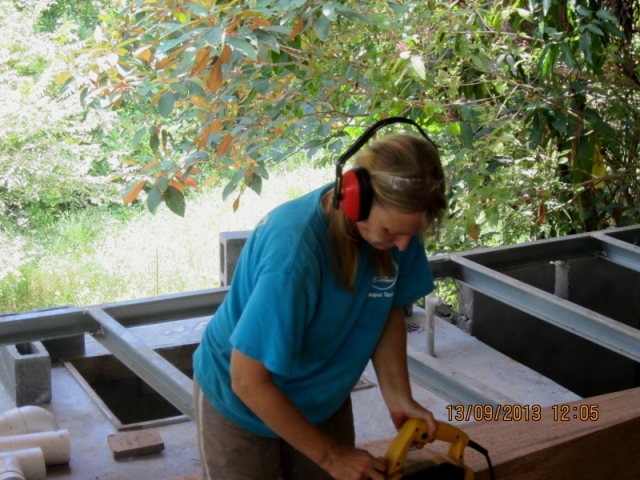
Loes planing planks
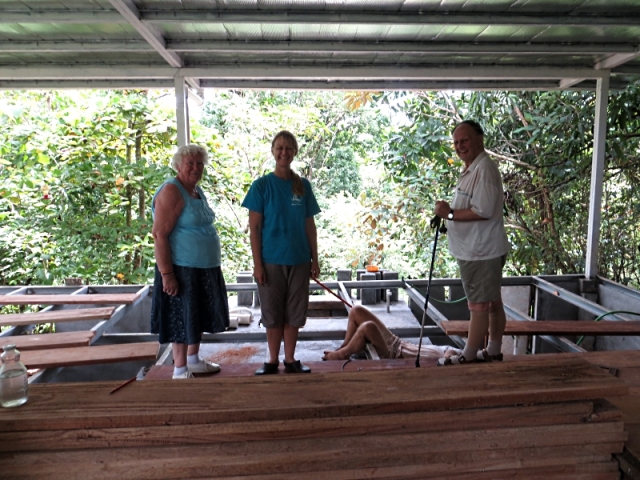
Loes and her parents force a plank straight and Kees tries to play snake-person to get the screws in from underneath
And now, just before the end of the year, it all suddenly comes together! The wood is all in place, we bought some nice rocking chairs and two weeks ago we had a wall of frosted glass installed on the side facing the street. We have a big and small store room full of stuff – note that the store rooms were already full before they were even finished – and we have an extra water tank that is full and not leaking!
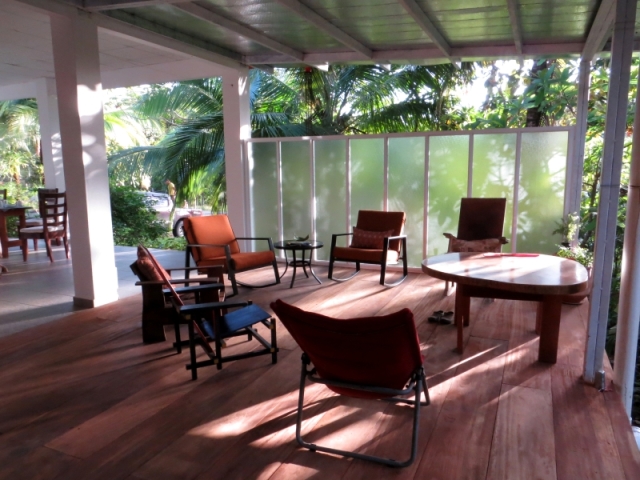
the result


